Farm to Table is a concept I thoroughly enjoy; it’s where restaurants buy their ingredients fresh from the farm (locally) and create menu options from those ingredients. I love the idea because it’s all about shopping local and helping to keep your money in the local economy.
This quick project is similar in that it’s keeping my money local – namely, in my pocketbook.
I have gone on two shopping sprees at second-hand stores recently. I was on the hunt for some material, and one of the greatest (and least expensive) sources is in the bedding aisles at thrift stores. Not only can you find a larger-width fabric than at the local fabric/craft store, you can find unique prints that aren’t readily available for purchase on the bolt. An added bonus is that bedding is typically softened from use/laundering over the years. Oh, how I love soft fabric!

On my latest excursion, I found a twin sheet set printed with large dinosaurs in an assortment of colors, and I knew it would be useful in a future project for my littlest guy, who is a fan of all things with tails and scales.
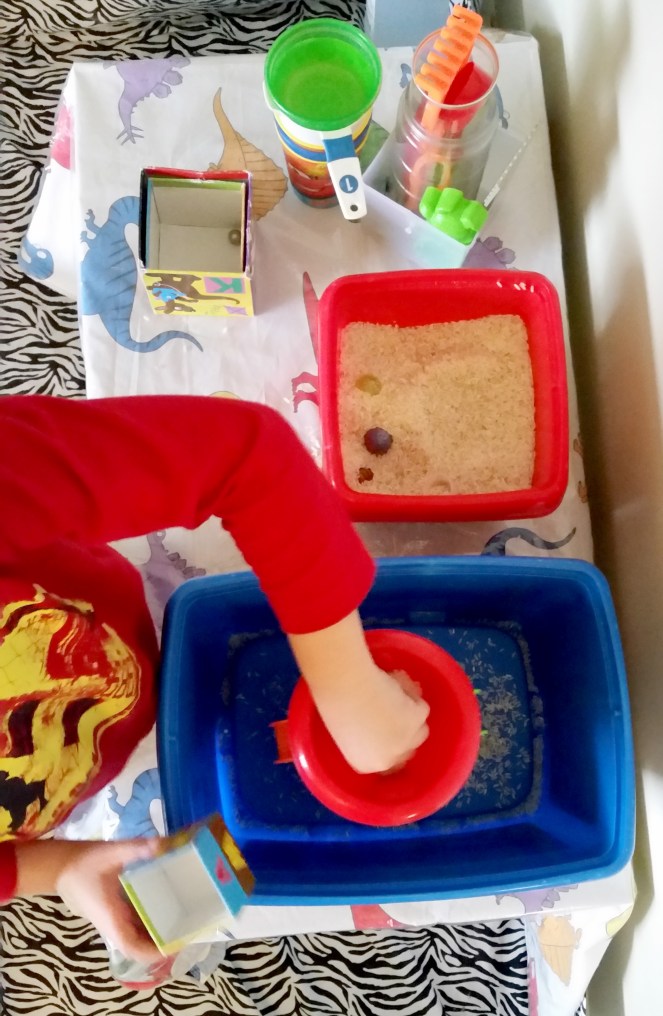
In anticipation of a particularly wet sensory activity, we (me, myself, and I) decided that a water-proof tablecloth was in order! After checking with the little guy (who is my biggest fan and supporter), the project was a go.
I used a clear, vinyl tablecloth from my stash (bought it for a peek-a-boo and/or I-spy activity book that I still haven’t gotten around to making) for the waterproof top layer. I also considered some heat-press vinyl, but realized it wasn’t tall enough to cover the entire project, and since there was going to be a seam in the middle, I decided against that option. You could also use a clear shower curtain or source/repurpose another clear, waterproof material. The beauty of this project is that I was able to use what I already had on hand, so don’t be afraid to use something that maybe started with a different purpose!
Waterproof Tablecloth
Supplies:
- Sheet (any size, so long as it is big enough to cover your table, with a few inches for overhang)
- Clear plastic vinyl tablecloth, shower curtain or similar material
- Measuring tape/stick
- Quality scissors (because cutting fabric with junk scissors is pure torture!)
- Sewing machine, thread, and notions
What to do:
- Measure your table. Mine was a coffee table, so the dimensions were roughly 20 x 36 inches.
- Cut your sheet to size, according to your table’s measurements, adding 10-20 inches in either direction for overhang (to your desired look). NOTE: Remember to double your overhang intentions – if you want 5 inches of overhang on either side, add 10 inches to the total measurement. I didn’t make that mistake here, but I certainly have made it previously. ADDITIONAL NOTE: If the pattern on the sheet is directional, pay attention to where/how you cut it. I wanted the dinosaurs to be right-side up when facing the long edge of the table, so I cut the width of the table from the width of the sheet.
- Cut your vinyl to the same size as your sheet.
- Pin vinyl to the right side of the sheet material. You can also use binder clips, or possibly even paperclips. You will be pinning along the edges, so it doesn’t really matter if you pierce the vinyl here, but be aware that where you pin, a hole will remain.
- Using a straight stitch, sew along the outer edges of the tablecloth, with a 1/4-1/2-inch seam allowance. NOTE: If you don’t have a walking foot or a non-stick foot, you will need to either place a piece of scotch tape over the bottom of your presser foot on your sewing machine (leave an opening for the needle hole) or use a piece of tissue paper to cover the vinyl where it makes contact with the presser foot. This will prevent the vinyl from sticking and causing a big hot mess.
-

Look at those pretty finished edges To give the tablecloth a more finished look and keep the cut edges of the sheet material from fraying, sew along the outer edges using an overcast stitch (if your machine has one) or a zig-zag stitch. (I love the overcast stitch – it’s similar to a serged stitch, but doesn’t require the use of a serger.) Alternatively, you can use this stitch and just skip Step 5 above, but I prefer doing both on such a large, bulky project.
- Admire your work, show it off to everyone in the home (and/or any pets), and go put it to use!